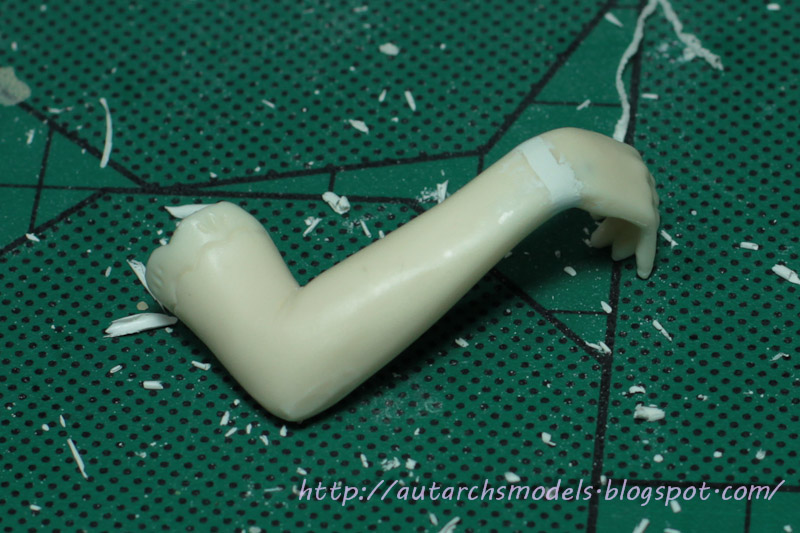
Some parts ready for priming after a good scrub in soapy water.
Primed with an automotive spray primer
I find the grey more readily highlights problem areas that require more sanding/attention
Lightly wet sanded with 1500 grit sandpaper, more washing needed after this =)
Looking for a little more contrast between shades/highlights on this project. Here's a test strip of the Vallejo paints I've selected
Test strips of various colours I might need. Must get around to doing this with all my paints; judging what the colours actually look like through the bottles is very difficult
I've airbrushed a white undercoat here to help the flesh colours go on easier
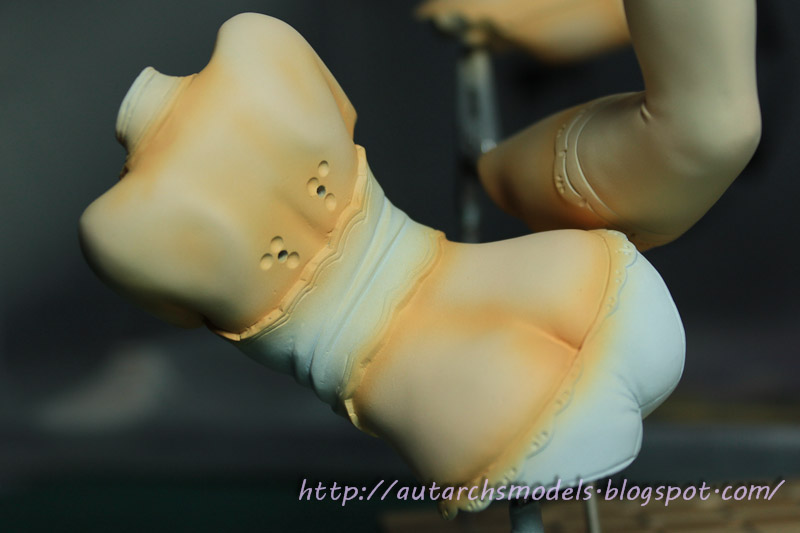
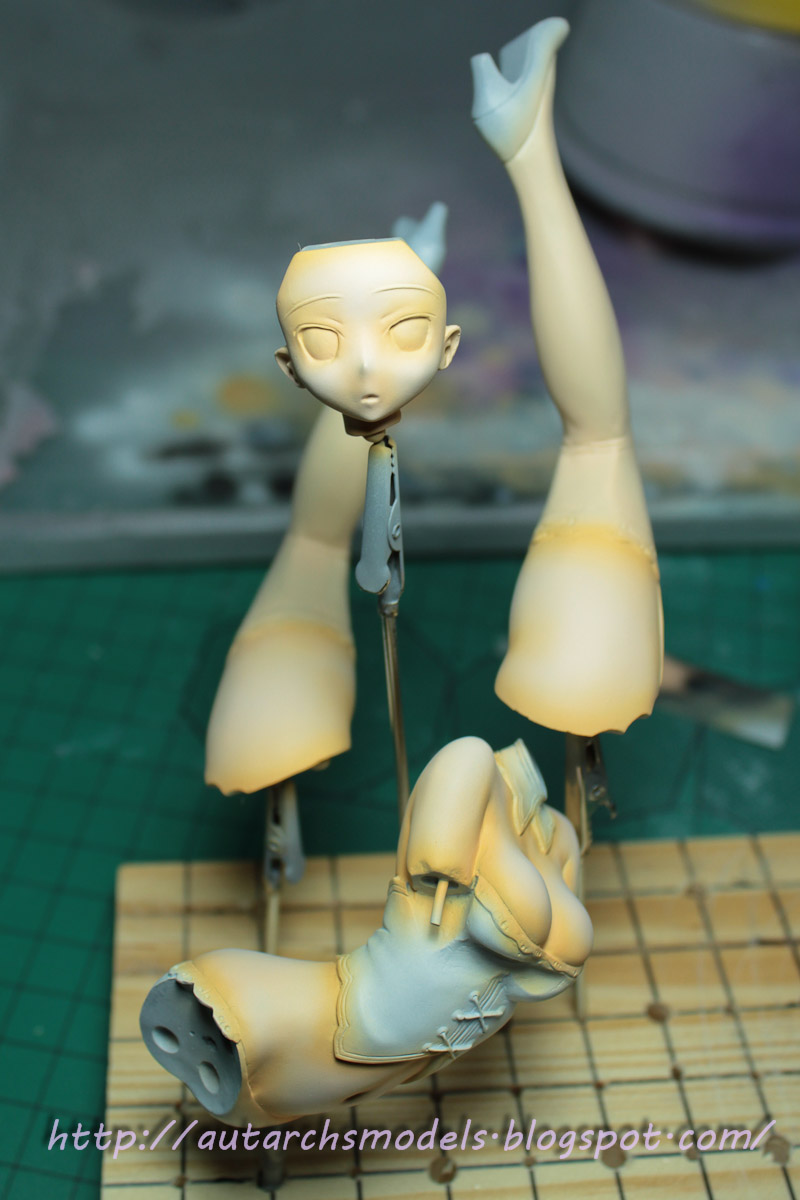
Airbrushed a base of Vallejo Model Color- Basic Skintone
I've painted the stockings/gloves skintone too, will try to paint black over the top and leave some skin shining through.