A blog of model builds. Mainly resin anime garage kits, model aircraft and spacecraft
Thursday, August 23, 2012
Wednesday, July 4, 2012
Misono Misono - Part 04
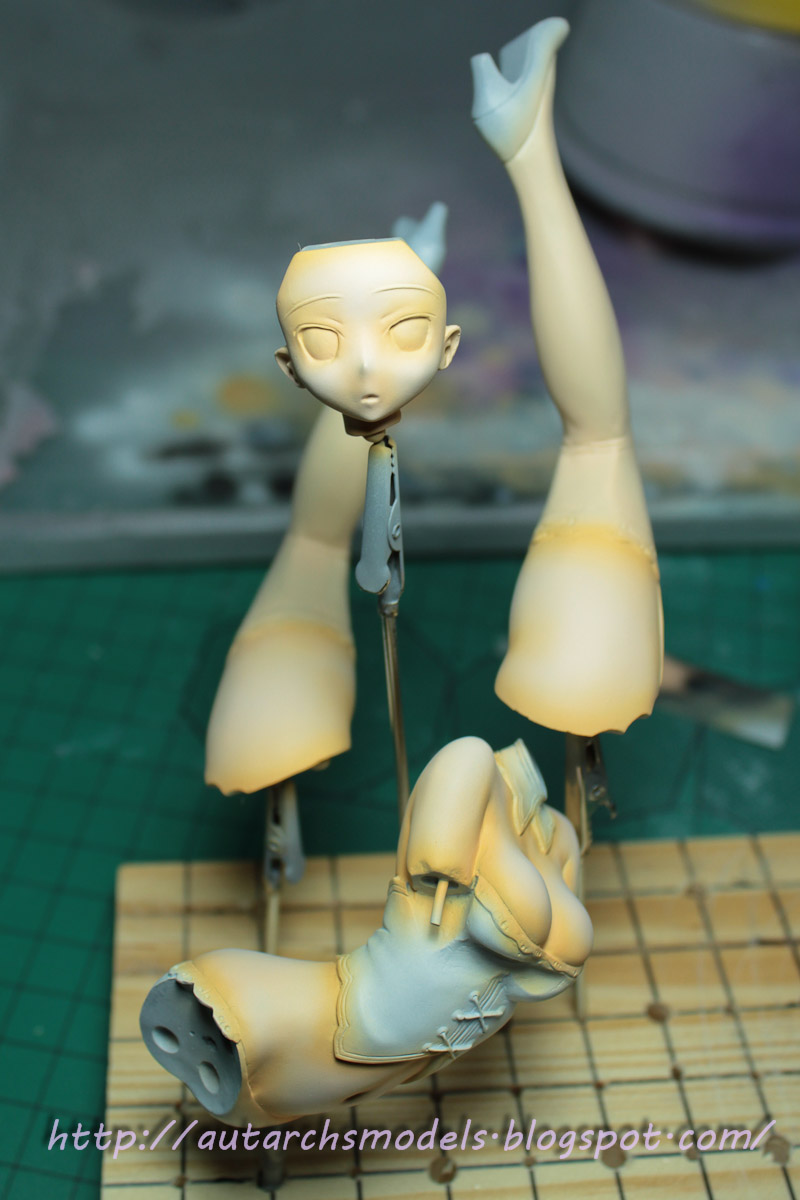
Some parts ready for priming after a good scrub in soapy water.
Primed with an automotive spray primer
I find the grey more readily highlights problem areas that require more sanding/attention
Lightly wet sanded with 1500 grit sandpaper, more washing needed after this =)
Looking for a little more contrast between shades/highlights on this project. Here's a test strip of the Vallejo paints I've selected
Test strips of various colours I might need. Must get around to doing this with all my paints; judging what the colours actually look like through the bottles is very difficult
I've airbrushed a white undercoat here to help the flesh colours go on easier
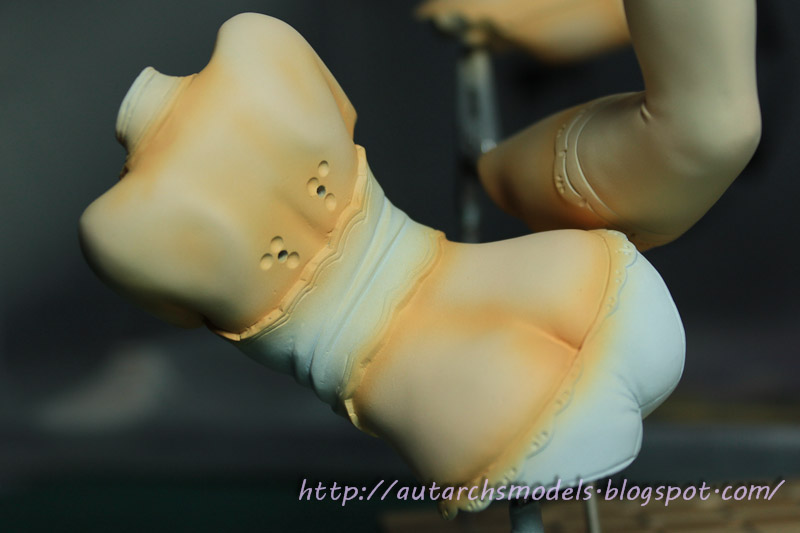
Airbrushed a base of Vallejo Model Color- Basic Skintone
I've painted the stockings/gloves skintone too, will try to paint black over the top and leave some skin shining through.
Saturday, March 10, 2012
Misono Misono - Part 03
Wednesday, March 7, 2012
Misono Misono - Part 02
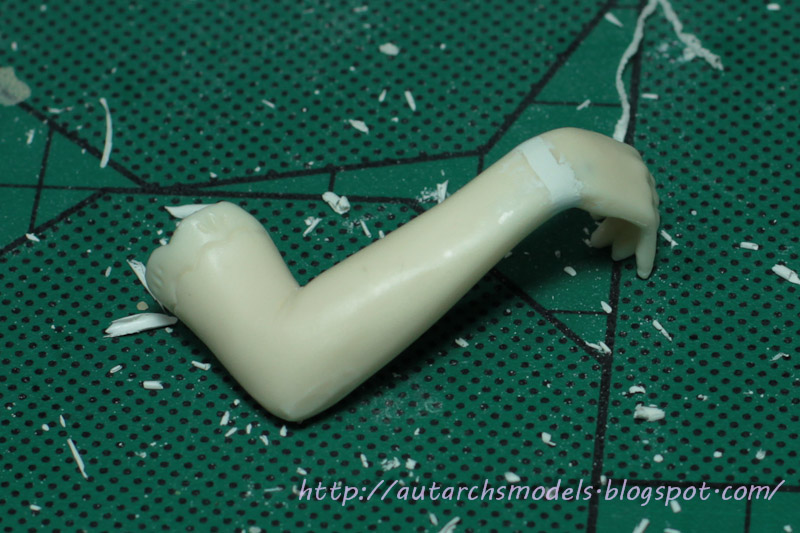
Glue has set on the wrist joint
Some glue removed to allow for easier filling with putty
Inside of the fringe carved out a little and ready for filling
Bubbles and other blemishes filled with Milliputt
Hip joints filled to help reduce gaps
Putty left to cure
Hip joint after excess putty removed
Filled areas smoothed with sandpaper
Wrist after filling and smoothing, looks ok
More coming soon =)
Monday, February 27, 2012
Misono Misono - part 01
It's time I started another Figure!
This is Misono Misono. Apparently from the PC Visual Novel: Iro ni Ide ni Keri Waga Koi wa. I don't know anything about the character or source material, but looks to be based on this drawing:
Quite a small box.
17 pieces, seems about 1:7 scale
Fairly straight forward looking.
Trimming some mold lines from the feet..
..and the inside of the leg joint.
Shoulder has a tab where the mold was probably poured.
Same on this elbow.
Leg fit is pretty good already.
You can just about make out a bubble here just under the surface of the shoulder (and several other places)
A light sanding would break the surface of the bubble and leave an unpleasant pit.
I've lightly drilled out the bubbles, ready to be filled with putty later.
Drilling some holes for pin joints. This is a 1.5mm drill bit.
The front portion of the hair comes in parts and doesn't fit together very well.
I've pinned it here with 1.5mm aluminium wire
And glued with a two part 15min epoxy.
Wings and face parts are pinned and glued.
Left arm taped in place
Right arm temporarily attached
Right hand pinned and glued for a better angle to grip the other arm.
Subscribe to:
Posts (Atom)